How to Decorate Your Graduation Cap: Tips, Tricks & Ideas
Posted: May 08, 2018 | Author: Southern Utah University | Read Time: 1 minutes
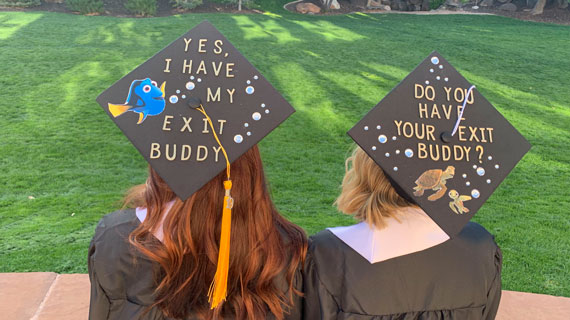
With one last chance to stand out and declare independence as a student, some graduates pull out all the stops when decorating their graduation caps. Having a decorated cap not only makes you unique, but it can also help friends and family find you in the sea of robed-graduates.
Here are some tips to help you make your graduation cap look the best it can.
1. Pick up your graduation cap from your university
Most universities don’t hand out the graduation regalia until the day before commencement, so you will need a quick turnaround on your design.
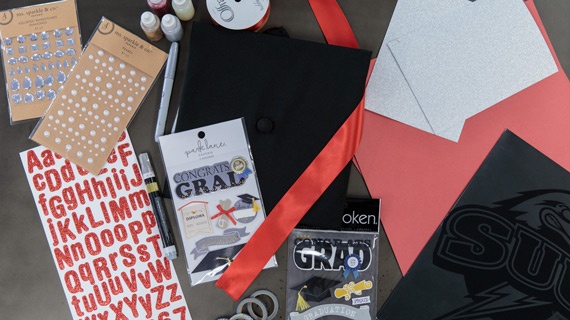
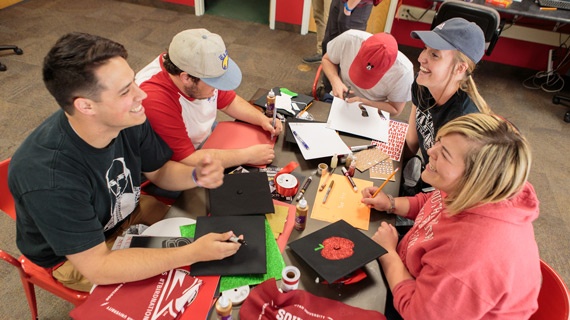
2. Purchase/find materials.
Here’s a list of things you might want handy:
- 2 sheets of 12 x 12 scrapbook paper (or cardstock)
- Glue gun/sticks
- Adhesive gems
- Silk flowers or pearls
- Decorative tapes
- Scissors or utility knife
- Sheets of glitter paper
- Fabric paints
- Glitter glue
- Metallic sharpies or paint pens
- Ribbons
- Adhesive letters
- Foam stickers
3. Cut your paper.
(Skip if you want to keep your cap its original color and add decorations directly to the fabric).
Punch a hole out in the middle for the button on top. Next, measure your cap and cut the paper to the correct dimensions.
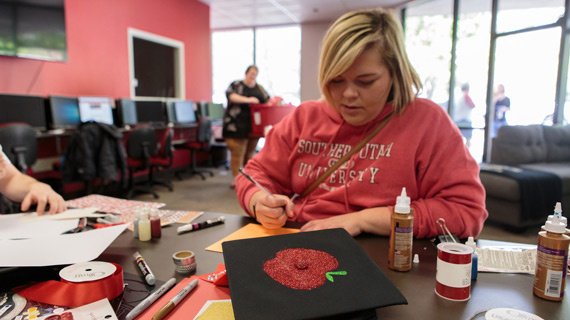
4. Assembly.
Graduation caps have a front and a back! So before gluing anything on, be sure that your image will be facing the correct way once you put the cap on your head! The triangle goes on your forehead and the rounded off elastic portion goes on the base of your head.
This article was published more than 3 years ago and might contain outdated information or broken links. As a result, its accuracy cannot be guaranteed.
Tags: Graduation