How to DIY Your Own T-Shirt Design
Posted: December 18, 2017 | Author: Southern Utah University | Read Time: 3 minutes
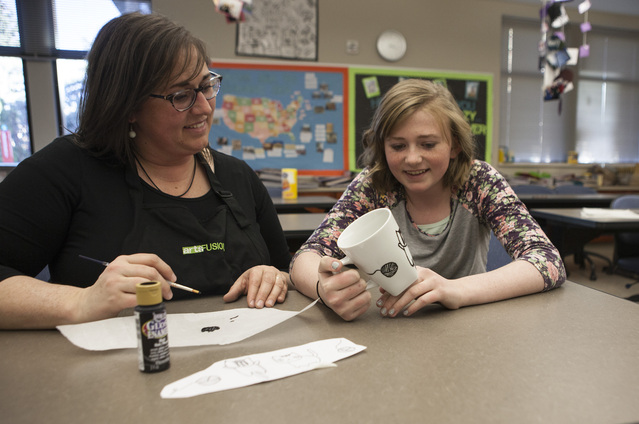
 Follow these easy DIY steps to create some fantastic, last-minute, and affordable gifts! With this process, you can create simple custom designs on t-shirts, pillowcases, tote bags, or anything made out of fabric.
- A roll of freezer paper (found where you get aluminum foil in the grocery store)
- Scissors
- Exacto knife
- Cutting mat
- Iron
- Ironing board
- Fabric paint or craft paint (not washable)
- Paint brush(es)
- Fabric item (t-shirt, tote bag, pillowcase, etc. Be sure that the fabric is okay to be ironed at a high temperature.)
Instructions
Wash your fabric piece if necessary.
Find or create your design. You want something simple. You will be cutting it out by hand. A recognizable silhouette image works well. You can do words if you keep it simple and use a large font. A one color design is great for your first time. You can do multiple colors but that can involve multiple stencils and multiple painting sessions. Print your design or draw it by hand. Make sure you size it well for the object you are creating.
Cut two pieces of freezer paper that are larger than your design. Tape one down onto your cutting mat with the shiny side facing down. Set the other one aside for later. Tape your design on top of the freezer paper. Be sure to keep a border of at least an inch all around the design.
Use your exacto knife to cut out the design. You are creating a stencil so the negative space (the space around the design) is what matters. Keep all negative space pieces. For example, if you are cutting out the letter O, you can throw away the O and keep the circle that goes in the middle. When you are finished, throw away all of the regular paper and keep the freezer paper pieces.
Heat your iron to high. Take the extra piece of freezer paper that you cut and slide it inside your fabric item. Turn it so the shiny side is facing the back of the side you will paint. Iron through the fabric from the outside. The shiny side should stick to the fabric. Iron it down completely and avoid any wrinkling. You can pull it off and try again if you need to reposition it. This piece will keep the paint from seeping through the back of the fabric.
Now put your cut design onto the fabric on the front with the shiny side down and iron it down. Carefully place any smaller pieces (like the centers of letters) and iron them down as well. Pay attention to the edges of the freezer paper. Make sure they are firmly ironed down with no wrinkles or bubbles.
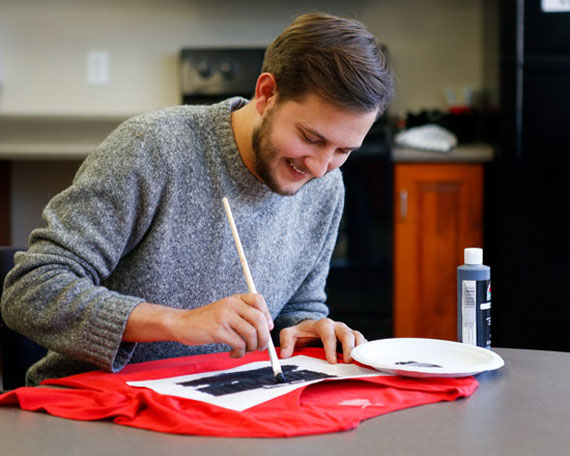
When you are satisfied that your stencil is firmly attached to your fabric, you can paint your design. As with any stencil, you want to paint from the edges in toward the center. Painting outward can force paint underneath the stencil. Paint the whole thing evenly but avoid heavy, thick paint coverage which can make the paint stiff once it dries.
Wash your brush and allow the paint to dry completely on your project. Peel off all of the freezer paper and throw it away. Some paints require you to iron them to set the paint before you wash it. Be sure to read and follow the instructions for the paint you use.
This article was published more than 3 years ago and might contain outdated information or broken links. As a result, its accuracy cannot be guaranteed.
Tags: Blog