Upload/Edit Files in Cascade
Generally, only pictures (.jpg or .png format) or PDF Documents should be uploaded. Files cannot exceed 900 kb and should be optimized. Images need to be resized (no larger than 900px wide) and compressed.
File names can only contain lowercase alphanumeric characters (i.e. a-z and 0-9) and hyphens (i.e. -). Using keywords in the filename can be helpful for search engine optimization.
ex. biology-student-field-trip.jpg vs. DSCN00937293.jpg
- Make sure you upload files into the proper location. For images this is usually the "images" folder associated with your content, for PDF it's the "pdf" folder. The best way to make sure you are in the proper folder is to hover over the folder in the Site Content panel on the left until you see the small arrow appear next to the folder name. Clicking on the arrow will take you directly into the images folder, which can also be verified by the content that is displayed in the main view pane.

- Upload files by selecting “Add Content” at the top of the window.
Choose “Default” and then “File”.
Note: If you are uploading a new version of an existing file, choose the "Edit" button on the file and use that dialog, rather than creating a new file in Cascade for every version of the image/pdf.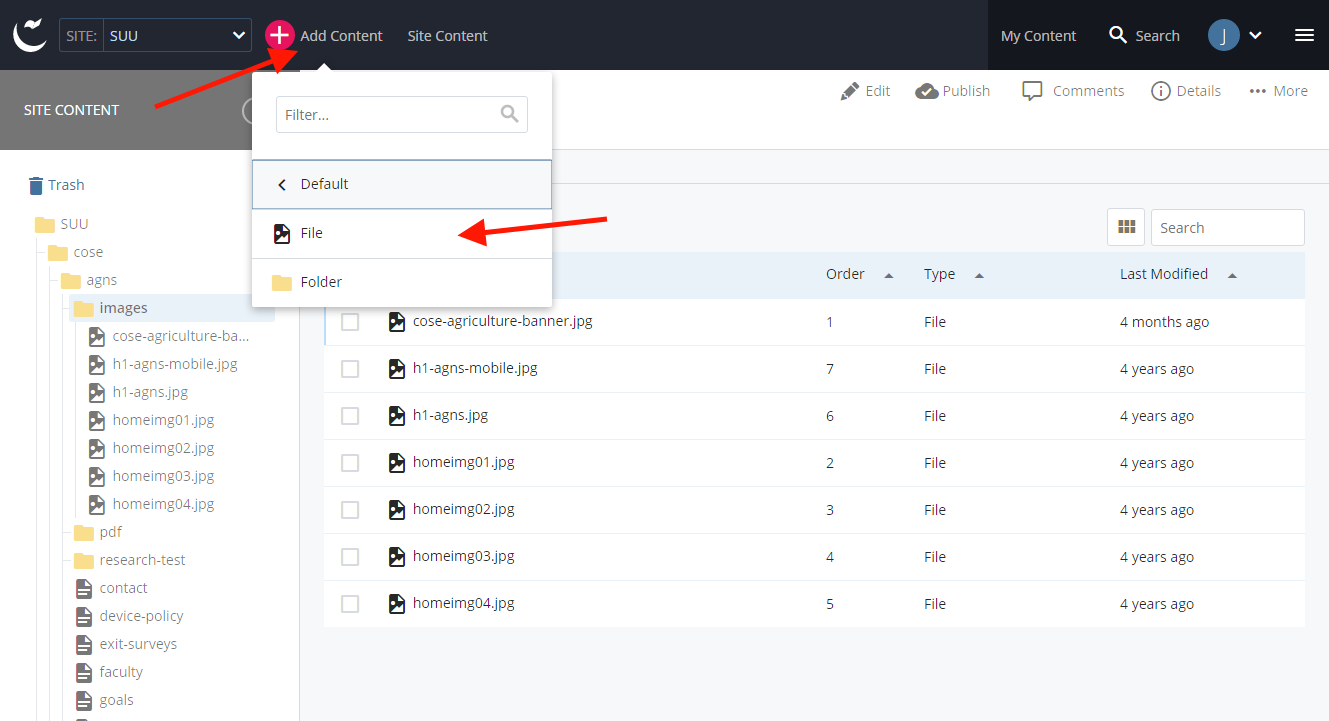
- A window opens where you will upload the file. The file name is filled in after you have uploaded the file. Once you have uploaded the necessary file, press “Save & Preview”.

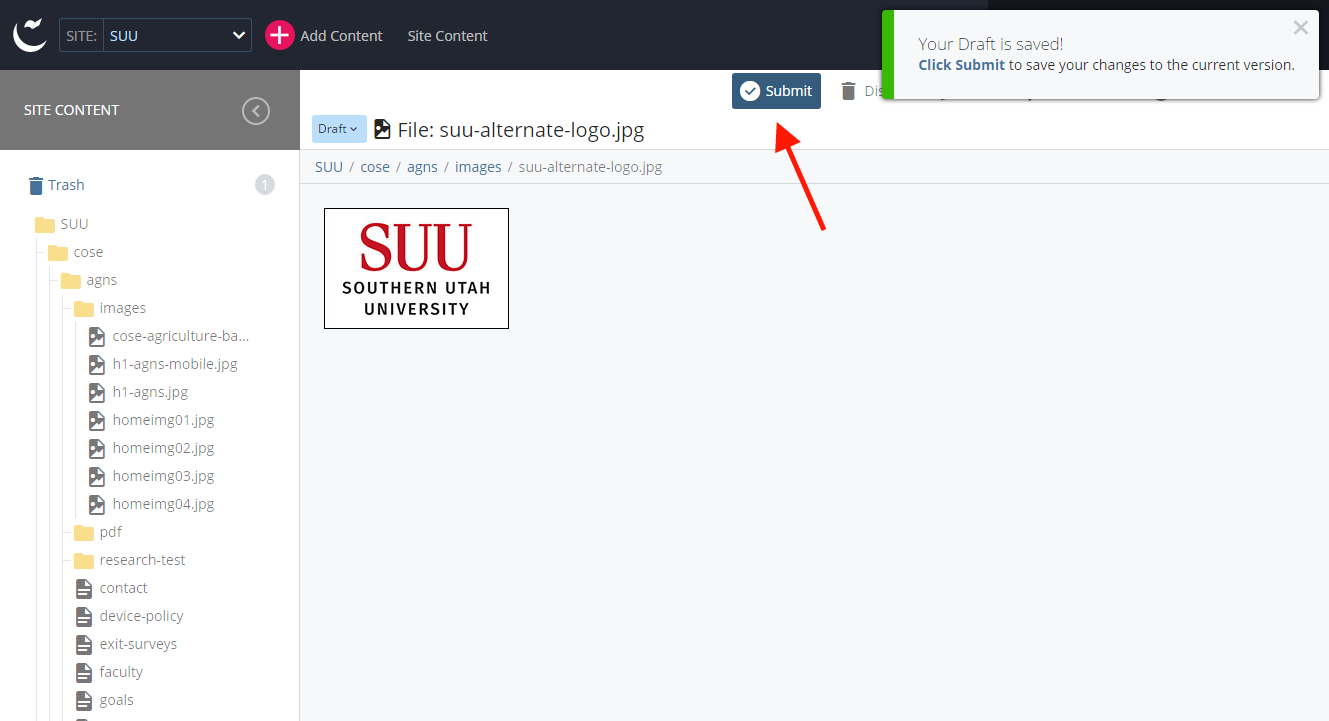
- In the preview window you can view your image, then press “Submit” and add a comment describing changes you’ve made. (Comments here are more important if you're adding a new version of an existing file.)
- Once you've submitted the file, make sure to publish it just like you'd do with a page.
Editing an Existing File
To edit an existing file, simply select that file in Cascade. Click the Edit button, then follow the steps on this page starting at step 3.