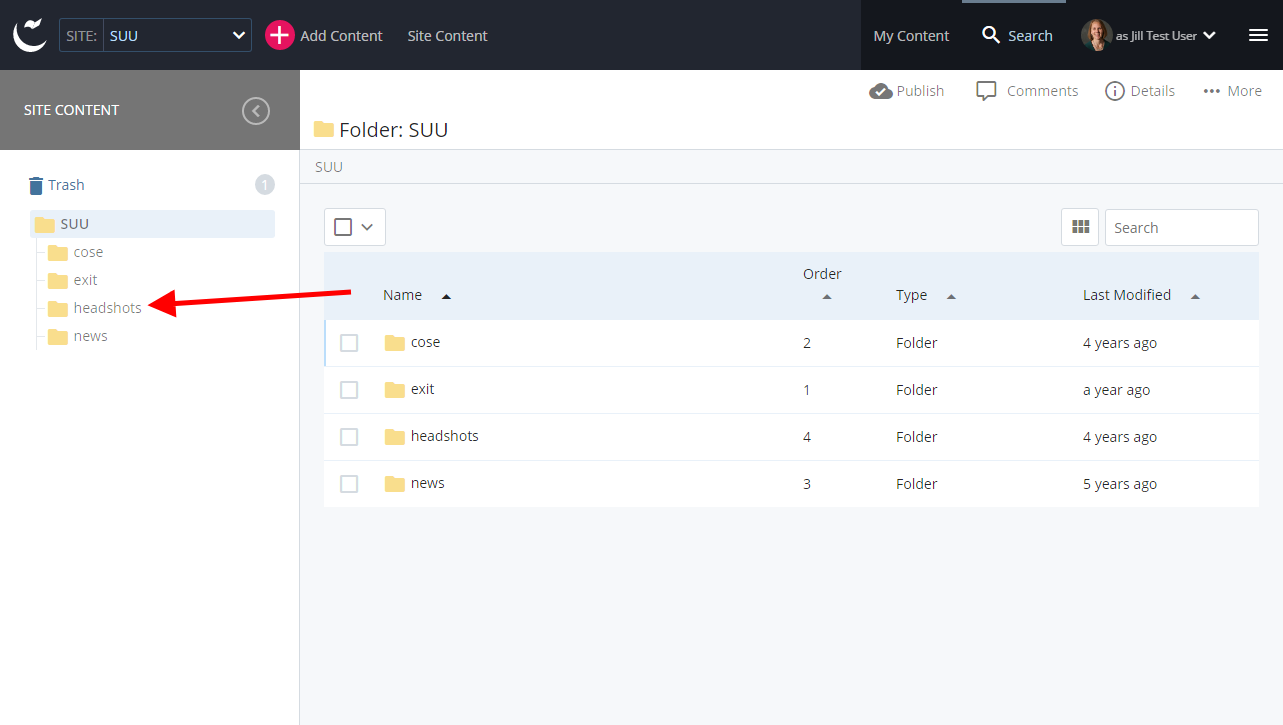
Employee Headshots on Web Pages
Instead of re-uploading employee's headshots in multiple locations all over the web site (department, committee, boards, awards, etc.) we have a central repository of headshots that is available to all liaisons to use in their edits as needed. These headshots are also used in the campus directory search by default.
To insert a headshot:
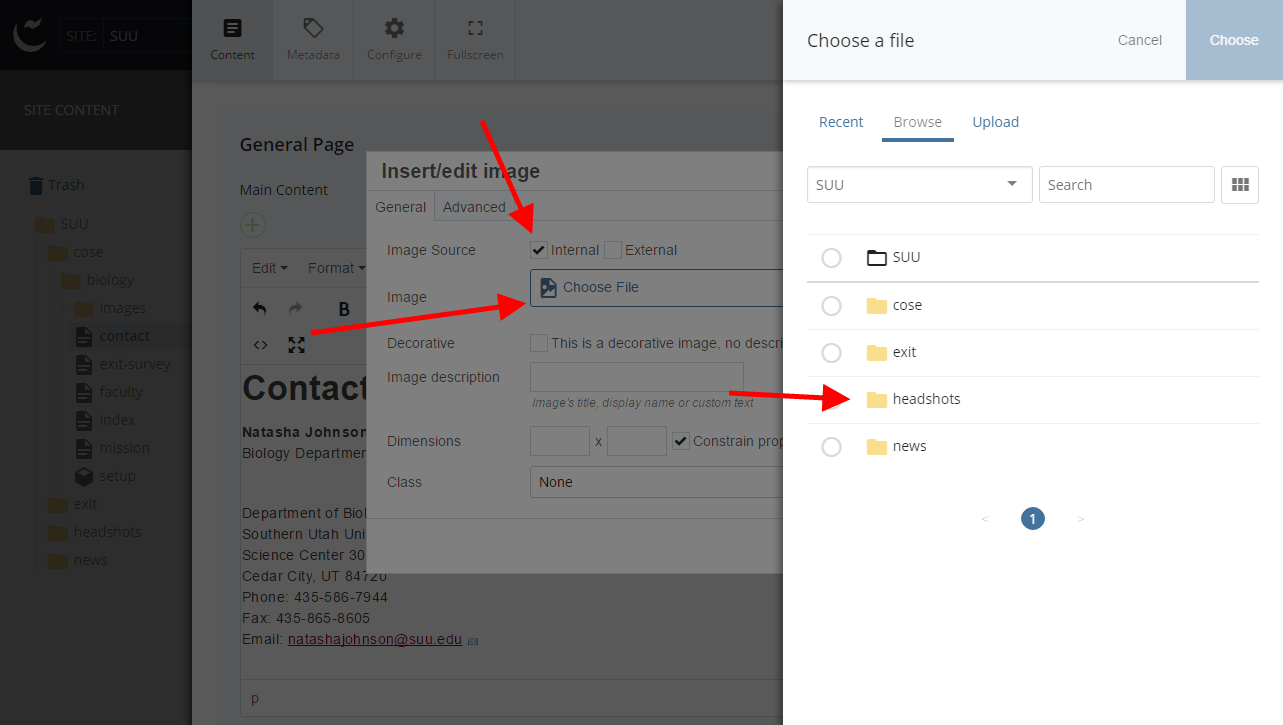
- Make sure you place the cursor in your page where you need/want the image to be placed.
- Click the insert image icon. This opens the Insert/edit image dialog.
- Make sure the "Internal" checkbox is selected.
- Select "Choose File." This will open the Choose a file option.
- Navigate to the headshots folder. Photos are saved by employee username.
A few employees do not want their photos used. To make sure that doesn't accidentally happen, we will create a placeholder image with their username. This is only done for those individuals who have specifically requested their image is not ever displayed.
If you need/want a new image in the directory, contact Web Services with the new image and we will replace it in the repository.
If you, or someone in your department, are missing from the repository contact Web Services. If you have had a photo taken with campus Photo Services, we will be able to get the photo from them. If you haven't had a professional photo taken with them, please schedule a time to get one taken.